Disassembling a Dropout Flat Mount is a task that requires precision, the right tools, and a good understanding of the component itself. As a Dropout Flat Mount supplier, I've seen firsthand the importance of proper maintenance and disassembly procedures. In this blog post, I'll guide you through the process of disassembling a Dropout Flat Mount step by step.
Understanding the Dropout Flat Mount
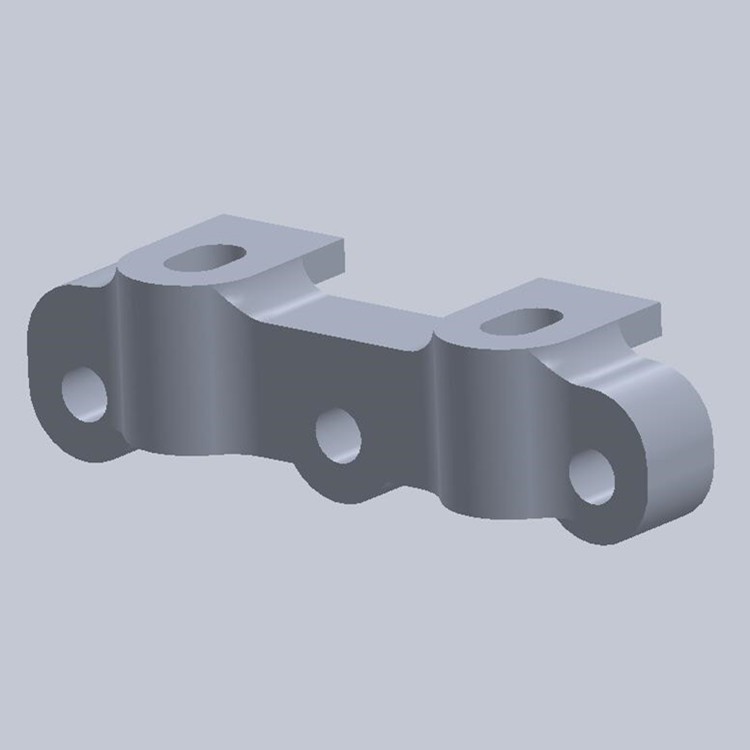
Before we dive into the disassembly process, let's take a moment to understand what a Dropout Flat Mount is and its role in a bicycle's braking system. The Dropout Flat Mount is a type of disc brake mount that provides a secure and reliable connection between the brake caliper and the bicycle frame. It is designed to ensure proper alignment and functionality of the disc brakes, contributing to the overall safety and performance of the bike.
You can find high - quality Dropout Flat Mounts on our website at Dropout Flat Mount. These mounts are made from top - grade materials, which guarantees durability and optimal performance.
Tools Required for Disassembly
To disassemble a Dropout Flat Mount, you'll need a few essential tools:
- Allen wrenches: Depending on the specific model of your Dropout Flat Mount, you'll likely need different sizes of Allen wrenches to remove the bolts holding the mount in place.
- A socket set: This may be necessary if your mount has larger bolts or nuts that require a socket for removal.
- A torque wrench: It's important to use a torque wrench to ensure that you're applying the right amount of force when removing and tightening the bolts. Over - tightening or under - tightening can lead to problems later on.
- A clean cloth: You'll use this to wipe away any dirt, debris, or lubricant that may be on the mount during the disassembly process.
Step - by - Step Disassembly Process
Step 1: Prepare the Bicycle
First, make sure the bicycle is in a stable position. You can place it on a bike stand or lean it against a wall in a way that it won't tip over. Shift the gears to a lower gear to relieve tension on the chain, which will make it easier to access the Dropout Flat Mount.
Step 2: Remove the Brake Caliper
The brake caliper is usually attached to the Dropout Flat Mount with a couple of bolts. Use the appropriate Allen wrench to loosen these bolts. As you loosen the bolts, be careful not to let the caliper fall. Once the bolts are loose, gently lift the caliper off the mount and set it aside in a safe place.
Step 3: Remove the Mounting Bolts
Look closely at the Dropout Flat Mount and identify the bolts that are holding it to the bicycle frame. These bolts are typically located on the side of the mount. Use the Allen wrench or socket set to remove these bolts. Gradually loosen the bolts in a diagonal pattern if there are multiple bolts, to prevent uneven stress on the mount.
Step 4: Detach the Dropout Flat Mount
Once all the mounting bolts are removed, you should be able to gently pull the Dropout Flat Mount away from the bicycle frame. Sometimes, there may be some resistance due to dirt, grime, or the presence of a small amount of adhesive. In such cases, you can use a soft - tipped pry bar to carefully separate the mount from the frame. Be extremely careful not to damage the frame or the mount during this process.
Step 5: Clean the Components
After removing the Dropout Flat Mount, it's a good time to clean all the components. Use the clean cloth to wipe away any dirt or debris from the mount, the brake caliper, and the areas on the bicycle frame where the mount was attached. If there is a lot of grime, you can use a mild degreaser to clean the components more thoroughly. Rinse them with water and let them dry completely before proceeding.
Step 6: Inspect for Damage
While the components are clean and dry, inspect them carefully for any signs of damage, such as cracks, chips, or excessive wear. Check the threads of the bolts as well to ensure they are in good condition. If you notice any damage, it may be necessary to replace the damaged part. You can find replacement parts like Titanium Brake Stud and Titanium Disc Brake Mount on our website.
Reassembly
Once you've completed the inspection and any necessary replacements, you can begin the reassembly process. The reassembly process is essentially the reverse of the disassembly process.
- Place the Dropout Flat Mount back onto the bicycle frame and align it properly.
- Insert the mounting bolts and hand - tighten them initially.
- Use a torque wrench to tighten the bolts to the manufacturer's recommended torque specification. This is crucial for the proper functioning and safety of the brake system.
- Reattach the brake caliper to the mount and tighten the bolts using the torque wrench to the correct torque.
- Once everything is tightened, test the brakes to make sure they are working properly. Squeeze the brake levers a few times to ensure that the calipers engage and disengage smoothly.
Troubleshooting During Disassembly
- Stripped Bolts: If you encounter stripped bolts during the disassembly process, it can be a challenging situation. You can try using a bolt extractor tool to remove the stripped bolt. However, if the situation is severe, it may be necessary to seek professional help or replace the damaged area of the frame or the mount.
- Seized Parts: In some cases, parts may be seized due to rust or long - term use. You can try applying a penetrating oil to the affected area and letting it sit for a few hours. This may help loosen the seized parts.
Importance of Regular Maintenance
Regular disassembly and inspection of your Dropout Flat Mount are essential for the long - term performance and safety of your bicycle's braking system. Over time, dirt, debris, and wear can affect the functionality of the mount. By disassembling, cleaning, and inspecting the mount regularly, you can identify and address any potential issues before they become major problems.

Contact for Purchase and Consultation
As a Dropout Flat Mount supplier, we are committed to providing high - quality products and excellent customer service. Whether you're looking to purchase a new Dropout Flat Mount, replacement parts like Titanium Brake Stud or Titanium Disc Brake Mount, or you have any questions about the disassembly or installation process, we're here to assist you. Please feel free to reach out to us to start a conversation about your needs, and we'll be more than happy to guide you through the purchasing process.
References
- "Bicycle Brake System Maintenance Guide", Cycling Weekly Publications
- "Advanced Bicycle Parts Manual", Mountain Bike Mechanics Journal
- Manufacturer's Instructions for Dropout Flat Mounts